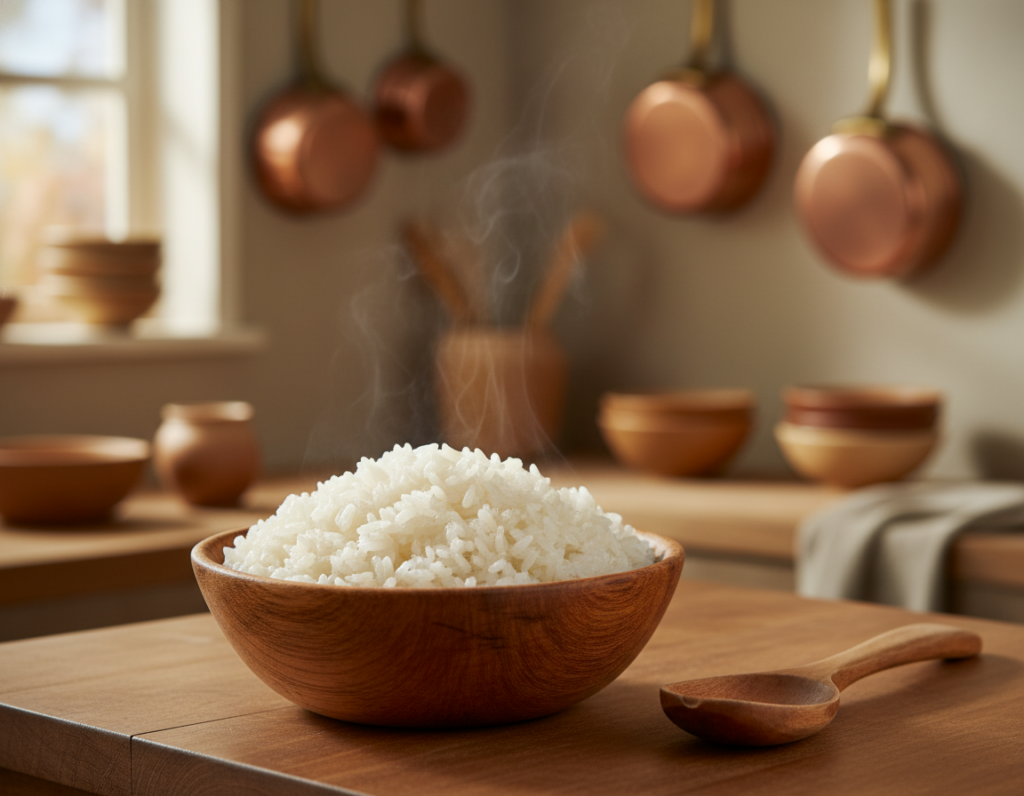
Pulling a cut at the right moment and giving it time to settle is not a chef’s trick. Letting juices redistribute makes slices hold moisture and taste better. You’ll see less liquid on the board and enjoy more even bites.
This intro explains two core benefits: juice redistribution for moisture and carryover heat that nudges doneness upward. Small steaks may climb only a few degrees, while large roasts can rise much more.
Practical tips in this article cover when to pull from heat, how to tent, and simple timing rules by thickness and weight. Guidance varies by cut—thin chops rest briefly, roasts and barbecue cuts need longer.
We’ll also note food-safety limits so you balance quality with safe handling. Expect quick-reference minutes-per-inch guidance and examples for steaks, roasts, brisket, and pork butt.
What “resting” meat means and why it matters after cooking
Holding a cut briefly before slicing stabilizes temperature and preserves the juices that make each bite flavorful.
Resting is a short hold away from direct heat so internal pressure eases and moisture can move back through the fibers. Typical time ranges run from 5–20 minutes depending on thickness; thin cuts often need only a few minutes.
Resting vs. cooling: what you’re actually doing
This is not full cooling. The goal is to keep the piece hot enough to serve while evening out temperature gradients and letting juices redistribute. That creates a more even, tender slice.
What you’ll notice on the cutting board when you skip the pause
Slice too soon and a puddle of juice will flow onto the cutting board. That pool carries flavor and mouthfeel. Losing it makes plates look watery and bites taste less rich.
| Cut | Typical Hold Time | Why it Helps |
|---|---|---|
| Thin steaks & chops | 3–5 minutes | Prevents immediate juice loss, keeps hot |
| Thicker steaks & small roasts | 8–15 minutes | Evens temperature from edge to center |
| Large roasts | 15–20 minutes | Allows deeper redistribution and easier carving |
Think of this hold as part of total cook time, not an unpredictable delay. Surface texture can change if you cover tightly—important when preserving bark or crisp skin. For more specifics on timing and technique see letting meat rest.
The science of resting: muscle fibers, pressure, and juice redistribution
The behavior of fibers under heat reveals why moisture gathers and how to preserve it.
What happens to muscle fibers as heat rises
Think of a cut as compact muscle tissue that holds a lot of water—raw beef is roughly 75% water. When temperature climbs, proteins tighten and the muscle fibers contract.
Why juices move toward the center
Contraction raises internal pressure. Up to about 120°F the change is mostly in diameter and liquid loss is limited. Above that point proteins shorten lengthwise and push water into gaps between fibers.
That shift forces liquid toward cooler zones, which often collect near the center and just under the surface.
How relaxation lets juices spread back out
When the fibers ease, pressure drops. Dissolved proteins can rebind some water, letting juices partially reabsorb and move from the concentrated pocket toward the edges.
Why moisture changes perceived tenderness
Moisture is key to texture. Even fully cooked structure feels more tender and pleasant when more water stays in the bite. Understanding this science explains why thicker pieces need longer holds: more mass means more pressure and slower redistribution.
- Muscle fibers + heat = contraction and pressure.
- Above 120°F, lengthwise shrinkage forces more liquid out.
- Relaxation lowers pressure and lets juices redistribute, improving tenderness.
Carryover cooking and temperature rise during the resting process
When a cut leaves the grill, the hotter exterior keeps giving heat to the cool center and the internal temperature keeps rising. This simple process is why slices finish warming on the board rather than stop immediately.
What carryover cooking is and why it happens
Carryover cooking is continued cooking that occurs because the surface holds more heat than the core. That stored energy travels inward until the whole piece evens out.
How much internal temperature can rise while resting
Small cuts like hamburgers, chicken breasts, or thin steak commonly rise about 3–6°F. Large roasts and whole birds can gain 10–15°F. These ranges help you plan final doneness.
When to pull meat off the grill or oven to hit your final temp
A practical rule: pull steaks roughly 3–5°F below your target internal temperature and let the heat finish the job. High-heat sears and thicker pieces produce more carryover, so plan a larger buffer.
“Pulling a steak a few degrees early prevents overshoot and yields the desired doneness after the temperature evens.”
Quick action steps:
- Monitor probe temp near the center for the best reading.
- Subtract 3–5°F for steaks; subtract more for big roasts.
- Combine your expected temperature rise with rest minutes to hit the target.
| Cut | Typical Rise (°F) | Pull Rule |
|---|---|---|
| Thin steaks & burgers | 3–6 | Remove 3–5°F under target |
| Thick steaks & small roasts | 5–10 | Remove 4–6°F under target |
| Large roasts & whole birds | 10–15 | Remove 8–12°F under target |
How to rest meat after cooking (step-by-step)
Use a short, orderly process to stabilize temperature and protect surface texture before you slice.
Step 1: Move the hot piece off the burner, grill, or oven immediately so carryover heat is controlled. This prevents extra rise that can push the doneness past your target.
Step 2: Transfer the cut to a cutting board, warm plate, or serving platter. A rimmed board or shallow pan also works when juices need containment.
Step 3: Tent loosely with aluminum foil like a small canopy. A loose tent keeps surface heat while letting steam escape, so the crust stays crisp and the center stays warm.
Step 4: Use appropriate rest minutes. Small steaks need only a few minutes; thick steaks and roasts often need 10–20 minutes. Set a timer and resist slicing early.
Step 5: Slice cleanly across the grain when ready. Let the pause serve as a productive part of service—finish sides, warm the plate, and arrange utensils while the piece sits.
| Step | Action | Typical minutes |
|---|---|---|
| 1 | Remove from heat | Immediate |
| 2 | Move to board, plate, or pan | 0–1 |
| 3 | Loose foil tent | Short hold |
| 4 | Wait then slice | 5–20 minutes |
Resting meat after cooking: how long to rest different cuts
A clear timing plan takes guesswork out of how long to wait before slicing different cuts.
Quick guide by thickness
Thin cuts vs. thick cuts
Thin cuts like flank, thin steaks, and chops need a short pause to keep juices put back into the fibers.
Thicker steaks and larger roasts require a longer time so temperature evens and pressure drops slowly.
Rules of thumb: minutes per inch and per pound
Simple rules: use 5 minutes per inch of thickness, or about 10 minutes per pound for larger pieces. Another handy option is 1 minute per 100 grams for precise trimming of small roasts.
Steaks, chops, and roasts — practical points
For steaks and chops: thicker cuts benefit from the longer pause to stabilize doneness after a high-heat sear. Aim for 5–7 minutes for thin cuts and 10–20 minutes for thick steaks.
For roasts: bigger roasts hold more pressure and can lose more juices when carved. A longer pause reduces visible loss and makes carving neater.
Pork loin example: America’s Test Kitchen found liquid loss falls dramatically with more pause. At 0 minutes a roast shed about 10 tablespoons; at 10 minutes it dropped to 4 tbsp; 20 minutes fell to ~2.5 tbsp. That shows measurable payoff from a proper meat rest.
| Cut type | Rule | Typical minutes | Why it helps |
|---|---|---|---|
| Thin steaks & chops | 5 min per inch | 5–7 | Prevents immediate juice flow |
| Thick steaks & small roasts | 5 min per inch / 1 min per 100g | 10–20 | Stabilizes doneness and texture |
| Large roasts & whole joints | 10 min per pound | 15–40 | Reduces loss during carving |
Long rests for barbecue cuts like brisket and pork butt
Brisket and pork butt transform in a 2–4 hour hold, improving texture and sliceability.
Why barbecue is different: large, fatty cuts finish at very high internal temperature (often ~200–205°F), so a lot of hot liquid sits under pressure when they come off the smoker.
The extended hold is a quality multiplier. A 2–4 hour pause lets fibers relax and slices or pulled portions come out cleaner. Top pitmasters like Aaron Franklin and Wayne Mueller use this, and Jeff Savell (Texas A&M) calls a 2–4 hour hold “the best ever produced.”
How collagen and gelatin help
During the low-and-slow process collagen converts to gelatin. That gelatin binds water and increases retained moisture in the cut as it cools.
As gelatin thickens, less liquid runs onto the board and more stays in the slice or pull. That change improves texture and mouthfeel.
Safe holding methods
- Wrap tightly, insulate in a towel-lined cooler or Cambro to hold heat.
- Monitor temperature to keep the piece above 140°F — USDA danger zone is 40–140°F.
- Do not leave large cuts on the countertop without insulation and a thermometer.
| Cut | Finish Temp (°F) | Hold Window | Key Benefit |
|---|---|---|---|
| Brisket | 200–205 | 2–4 hours | Cleaner slices, more moisture |
| Pork butt | 200–205 | 2–4 hours | Better pull, less fluid loss |
| Large roast | 190–205 | 1–3 hours | Even texture, easier carving |
Foil tenting, wrapping, and when not to cover meat
How you cover a hot cut shapes its final texture and serving temp. A loose foil tent slows heat loss while letting steam escape. That protects the surface and keeps a seared crust from going soggy.
Loose foil tenting vs. tight wrapping: the texture trade-offs
Default approach: use a loose tent for steaks, chops, and most roasts. It keeps slices warm and preserves the crust.
Tight wrapping holds more heat and moisture. That helps long holds or big joints stay juicy. The downside is trapped steam can soften the exterior and change bark or skin.
When to skip foil to protect crispy skin on poultry
For browned poultry skin, skip covering. Leaving the surface dry keeps that crisp texture. If you wrap, the skin will steam and lose crunch.
Decision rule: loose tent for high-heat, seared items; tight wrap for long, low-and-slow holds where tenderness and moisture matter more. For small piece meat, covering choice affects temperature and serving time quickly.
| Method | Best for | Trade-off |
|---|---|---|
| Loose foil tent | Steaks, chops, roasts | Preserves crust; moderate heat loss |
| Tight foil or paper wrap | Long barbecue holds, large joints | Maximizes warmth and juiciness; softens exterior |
| No cover | Poultry with crisp skin | Maintains crisp bark/skin; cools faster |
Wrapping and holding methods explain how to match wrap style to your desired plate result.
Tools and setup for clean slicing and minimal juice loss
Good tools and a planned workflow make it easy to slice neatly and reclaim escaping juices. A smart setup keeps flavor on the plate and reduces cleanup.
Choosing the right cutting board: grooves, rims, and cleanup
Pick a cutting board with a gravy groove or raised rim to catch any juices the slice releases. That simple feature keeps liquid from spreading across the counter and lets you collect flavor for serving.
Why capture matters: saved juice can be spooned back over a sliced steak or roast for richer bites instead of being lost to the sink.
Using a probe thermometer without “leaking” juices
Rely on a probe to confirm internal temperature rather than slicing to check. One clean insertion gives you a reliable read and avoids the extra cuts that force out more juice.
Minimize repeated punctures. Each hole is a path for liquid to escape, so probe once near the center and record the reading before the piece moves.
Where to rest: plate, board, pan, or serving platter
A warm plate works well for small portions; a rimmed board or shallow pan is best for larger cuts that weep more liquid. Rest on the same surface you plan to slice on to avoid extra handling.
Workflow tip: move the cut meat only once. Slice where it sits to preserve structure, cut cleanly, and recover any released juice for the plate.
“Choosing the right board and using a single probe reduces mess and leads to cleaner slices and better tasting steak.”
Common resting mistakes that make meat dry (and how to fix them)
Dry slices usually point to process errors, not fate. Diagnose timing, temperature planning, and wrap method to find the real problem quickly.

Slicing too soon: why the juice floods out
What happens: cutting early releases concentrated juices from the center and causes visible loss and drier bites.
Fix: build a short rest buffer of a few minutes so pressure drops and juices redistribute before you slice.
Resting thin cuts for too long makes them cold
Thin steaks and quick-cook cuts cool fast. Too many minutes here lead to lukewarm plates, not better texture.
Fix: use minimal rest—often just the time to plate and serve—and keep serving plates warm.
Ignoring carryover can push temperature too high
Carryover can raise the center by several degrees. That overshoots doneness if you wait without planning.
Fix: pull early based on cut size and let the rest finish the final degrees.
Covering too tightly steams the crust
Tight wrap traps steam and softens bark or skin.
Fix: use a loose tent, or skip covering for crispy poultry.
| Mistake | Effect | Quick Fix |
|---|---|---|
| Slicing too soon | Large juice loss from center, dry bites | Wait a few minutes; tent loosely |
| Resting thin cuts too long | Cools quickly; lukewarm serving | Keep rest short; warm plates |
| Ignoring carryover | Doneness overshoot | Pull a few °F early per cut size |
| Tight covering | Steamed crust or soggy skin | Use loose tent or no cover for poultry |
Conclusion
A short, deliberate pause makes a big difference in how a finished steak feels and tastes.
Letting juices redistribute lowers internal pressure and improves tenderness. Plan for carryover rise in temperature so your steak hits the target doneness.
Use the simple timing rules: minutes for thin cuts, longer for thick steaks and roasts, and extended holds for brisket or pork butt. Move the piece off heat, rest on a board or warm plate, and tent loosely unless you need crisp skin.
Resting meat is part of good cooking, not a delay. On your next grill night, pull a few degrees early, let meat rest, and compare the juices and flavor when you slice. That small step rewards every bite.