Planning is the heart of low-stress multi course prep. This guide defines multi-dish work as coordinating a main plus sides so everything lands hot and ready. You will learn simple multi dish cooking tips and a repeatable system that removes last-minute panic.
Great results come from a system: menu planning, prep, tool setup, heat management, and finish coordination. Rather than starting every pan at once, you stage ingredients and sequence tasks. That keeps fast items from burning and grains from getting mushy.
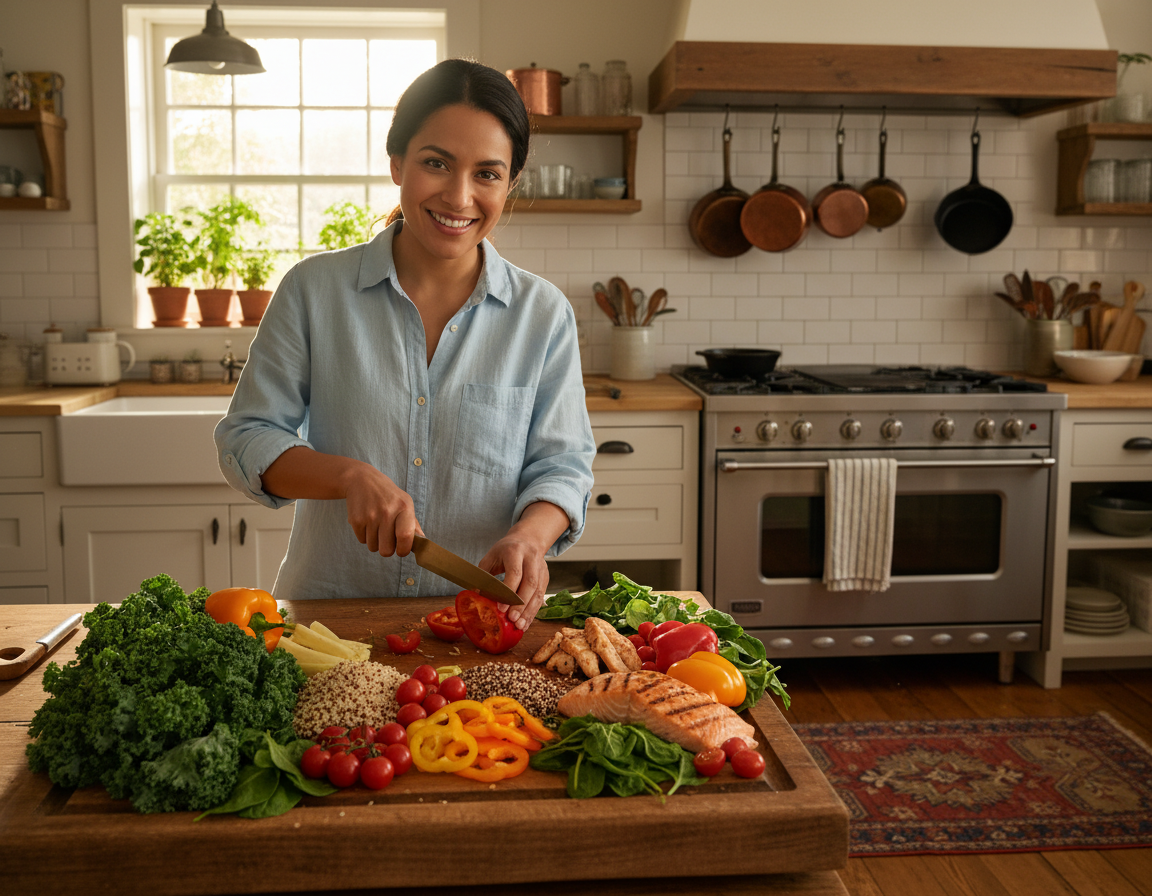
Adopt a calm kitchen mindset. Decide before the stove is on, then follow the plan and make small adjustments. This approach fits weeknight dinner or big holiday meals, even in single-oven homes.
Goal: consistent timing, fewer mistakes, and more enjoyable hosting. Read the recipes first, build a timeline, do mise en place, then use heat zones and staggered starts to hold food perfectly.
Plan the Menu and Timeline With Multi Dish Cooking Tips
Before you touch a knife, read each recipe end-to-end to spot oven overlaps, rest times, and hands-on moments. This quick read-through prevents surprises and shows which steps need attention. Read every recipe fully before you chop so you can combine steps into one clear plan.
Read-through method
Scan each recipe for oven temperature, rack position, resting time, stirring, flipping, and items that must reach room temp. Note durations so you can estimate total time.
Build one master list
Backward-plan from serving time and assign anchors: long roasts and braises first, mid-length items next, quick finishes last. Merge repeated steps (one onion chop for two dishes) and mark stovetop vs. oven work.
- Batch by temperature when two items want different oven settings.
- Prioritize the main protein; pick sides that share a temp or reheat well.
- Follow the “one-thing-at-a-time” way: while something bakes, prep the next step.
Sequencing example & reality check
Example order: low-and-slow first, mid-length next, quick cooks last. Leave small buffers for interruptions like kids or the doorbell so the plan holds up in real life.
| Item | Estimated Time | Place | Temp Strategy |
|---|---|---|---|
| Roast (anchor) | 2–3 hours | Oven | Start earliest; holds well |
| Mid-length side | 30–60 minutes | Oven/Stovetop | Schedule after anchor; same temp if possible |
| Quick finish | 10–15 minutes | Stovetop | Do last; requires attention |
Prep Ahead to Keep Your Kitchen Flowing
Set up every ingredient and tool before heat hits the pan to keep the kitchen calm. This short prep removes frantic moments and helps fast recipes finish well.
Mise en place for fast pans
Do mise en place: chop, measure, and arrange items in order of use so a single thing missing does not spoil the cook. Quick sautés and stir-fries need every element ready before the first sizzle.
Stage and label
Designate zones for raw prep, holding, and plating. Keep a clean tray as a landing zone and label bowls (“Sauce,” “Garnish,” “Veg”) to cut decision fatigue. These small actions organize things and speed flow.
Make-ahead components and holding
Cook grains, mashed potatoes, polenta, or beans ahead; they reheat well and ease the dinner rush. Cool make-ahead food quickly, refrigerate, then reheat covered to retain moisture.
“Pause beats panic.”
| Component | Prep Window | Hold Method |
|---|---|---|
| Rice/grains | 2–4 hours ahead | Cool, refrigerate, reheat with splash of water |
| Mashed potatoes | Same day | Keep covered, rewarm gently on low |
| Roasted veg | Earlier that day | Reheat on sheet pan in oven |
If a pan risks burning, turn off the burner and move the pot to a cool ring briefly. Adopt a two-minute reset: wipe counters, clear a board, and set serving utensils. Small tips like these keep the kitchen clear and your food consistent.
Set Up Your Space, Tools, and Oven Like a Pro
Start by confirming what your oven actually does and what your pans can hold. Small checks now prevent big timing errors later.
Why temperature accuracy matters: a 25°F swing changes bake and roast times across the whole schedule. Frequent door openings make swings worse and can push a roast past its target.
Check temperatures with two simple thermometers
Keep an inexpensive oven thermometer inside to verify ambient temp. Use a probe thermometer for the main protein so you pull at the exact internal temp.
Do a cold-oven “Tetris” run
Place rimmed sheet pans, casserole dishes, Dutch ovens, and racks in a cold oven the night before. Confirm what fits and which rack positions let air circulate.
Free oven capacity with countertop equipment
Move mashed potatoes to an Instant Pot, hold sauces in a slow cooker, and keep rice in a covered rice cooker. These tools give the oven room for roasting and baking.
- Pick flexible vessels: rimmed pans beat oversized bakeware that blocks the middle rack.
- Plan to rotate pans only when necessary.
- Set out mitts, timers, serving platters, foil, and trivets before heat is on to avoid last-second searches.
Space management is time management: fewer pan swaps mean steadier temps, more predictable results, and less risk of overcooking.
Manage Heat Zones and Stagger Start Times While Cooking Multiple Dishes
Assign each burner and rack a role—sear, steady, or hold—to keep everything on track. This makes hands-on work deliberate and reduces frantic adjustments.
Create clear stovetop and oven zones
On the stove, run one high burner for searing, one medium for steady simmering, and one low for gentle holding. Use a spare low ring to keep sauces warm without breaking them.
In the oven, dedicate rack positions: lower racks for high-heat roasts, the middle for even baking, and upper racks for lower-temp or short-bake pans. Give pans space so air flows freely.
Stagger start times for reliable timing
Begin low-and-slow items first, then start mid-length sides, and reserve quick finishes for last. This sequence syncs finishing times and reduces stress at serving.
Hands-off anchors and limiting oven door openings
Trust steady cooks: a roast with a probe, a covered pot of rice, or veggies on a sheet pan can run with little attention. That frees you for delicate last-minute steps.
Avoid opening the oven door. Each opening drops the temperature and adds unexpected time. Use the oven light, window, and thermometers to check progress instead.
Quick troubleshooting decision tree
- If one item is ahead: tent with foil or move it to a gentler rack.
- If something is behind: shift it closer to the heat or raise temp briefly if it won’t harm other items.
- If the oven temperature fluctuates: close the door, wait 5–10 minutes, then verify with an oven thermometer and adjust start times.
| Zone | Stovetop Role | Oven Placement | When to Use |
|---|---|---|---|
| Hot | Sear, reduce sauces | Bottom rack / direct heat | Roasts, high-heat browning |
| Medium | Simmer, sauté | Middle rack / even bake | Casseroles, roasted veg |
| Gentle | Hold, keep warm | Upper rack / away from element | Short bakes, low-temp sides |
For recommended technique and pan selection that work well with this approach, see how to cook with stainless steel.
Coordinate the Finish Without Overcooking or Going Cold
A clear finish plan keeps food hot, textures right, and stress low. Cook the main protein first so it has the oven to itself and finishes predictably. That gives the schedule a stable anchor and prevents small delays from cascading into late plates.
Why the protein is your schedule anchor
The main takes the longest and offers the least flexibility. Prioritizing it keeps the whole meal realistic and reduces scramble near service.
Smart holding strategies
Use the oven’s “warm” setting for casseroles and baked sides. Keep meats tented to rest, not wrapped tight, so crusts stay crisp.
Hold sauces in a small pot on the lowest simmer to avoid breaking. For short holds, cover and use gentle heat rather than high flames.
What to finish last
Crisp items need the shortest hold—roasted vegetables and fried pieces should finish close to plating. Braises, grains, and many baked sides tolerate holding and can wait comfortably.
Practical recovery when timing slips
- Turn off a burner and move a pan to a cold ring to pause progress.
- Tent items with foil or swap rack positions to balance heat.
- Split steps: par-cook now, finish at serve to keep texture.
- Pasta trick: undercook slightly, spread on a sheet pan with a little oil, then finish in sauce for a fresh result.
Finish-line checklist
- Warm plates or platters.
- Set garnishes and confirm serving utensils.
- Use the oven light and probes; avoid extra door openings.
“Finish in the right order to protect quality, not to follow a rigid clock.”
For extra ideas on managing final steps and timing, see quick finishing ideas. These simple methods make finishing a reliable way to serve hot, well-textured food every time.
Conclusion
A clear routine turns a frantic meal into a calm, reliable result. Summarize the system: plan by reading recipes and building one timeline, prep with mise en place and staging, set up thermometers and test pan fit, execute with heat zones and staggered starts, and finish by holding smart and recovering calmly.
Good timing matters. Protect focus moments like searing, sauce finishes, and pulling proteins at temp. These few minutes decide the final result and save time overall.
Start small: coordinate two dishes first—a protein and a side—then scale up as your workflow clicks in your kitchen. Apply these tips to your next holiday spread or weeknight meal for better food and a calmer experience.
strong,